
One thing I have noticed about most of the scratch-built dungeon scenics out there, is how darkly painted they are - and for some reason, this just doesn’t look right to me - I know that sounds counter-intuitive (erm, it’s a dungeon, Steel - you know, deep, dark and dreary….), but bear with me - I find that working with smaller scale figures, it is always better to keep backgrounds and basing light coloured, in order to make the miniatures ‘pop’ and be more visible - so as this is going to be in 15mm, I wanted tiles that weren’t going to be monochrome black, or for example, a very dark grey.
Now if you’ve got brightly painted miniatures against say, black wall pieces, they should be more visible, right ? - but I felt that if the floor tiles were black, the walls black, any scenic pieces black, then it might just be too much, well……black ? - :-) I mean, we’re supposed to be having fun with this dungeon crawl, right ? - not just getting depressed ?
So, with just such torturous logic, I decided that I wasn’t going to have tiles that were lost in the blackness of Stygian gloom, but rather were damp, and dank - more verdigris than darkness, more soggy than obscured in shadow…… maybe my tiles are actually just a sub-basement, rather than an actual Dungeon - more sort of Bourgeois cellar than an honest to goodness crypt?
Anyway, this was going to be all about dirtying things up - so after my customary blast of acrylic sanding sealer to both sides of the tile frame pieces, I went in with a medium grey base coat, followed up with drybrushings of some cheap craft paint samples called ‘granite dust’ and ‘chipped stone’:
Over this I went with a light wash of a medium green sort of splodged on, and then liberal splashing of diluted Army Painter soft tone to add to the browny-greeny-ness….. I think this gave the impression I was after, whilst retaining an overall ‘light’ background - the stone floors are visible, but not overwritten in gloom…..

This was quite fun to do in a sort of kindergarten art class sort of way, and although I had ambitions of doing a graduated soft-tone in the corners of each square, to add some depth, this soon flowed into an overall grubbiness - but given the size of the tiles, I don’t think this looks so bad - maybe for 28mm pieces you would need to be more circumspect in the application, but I was having too good a time to worry !

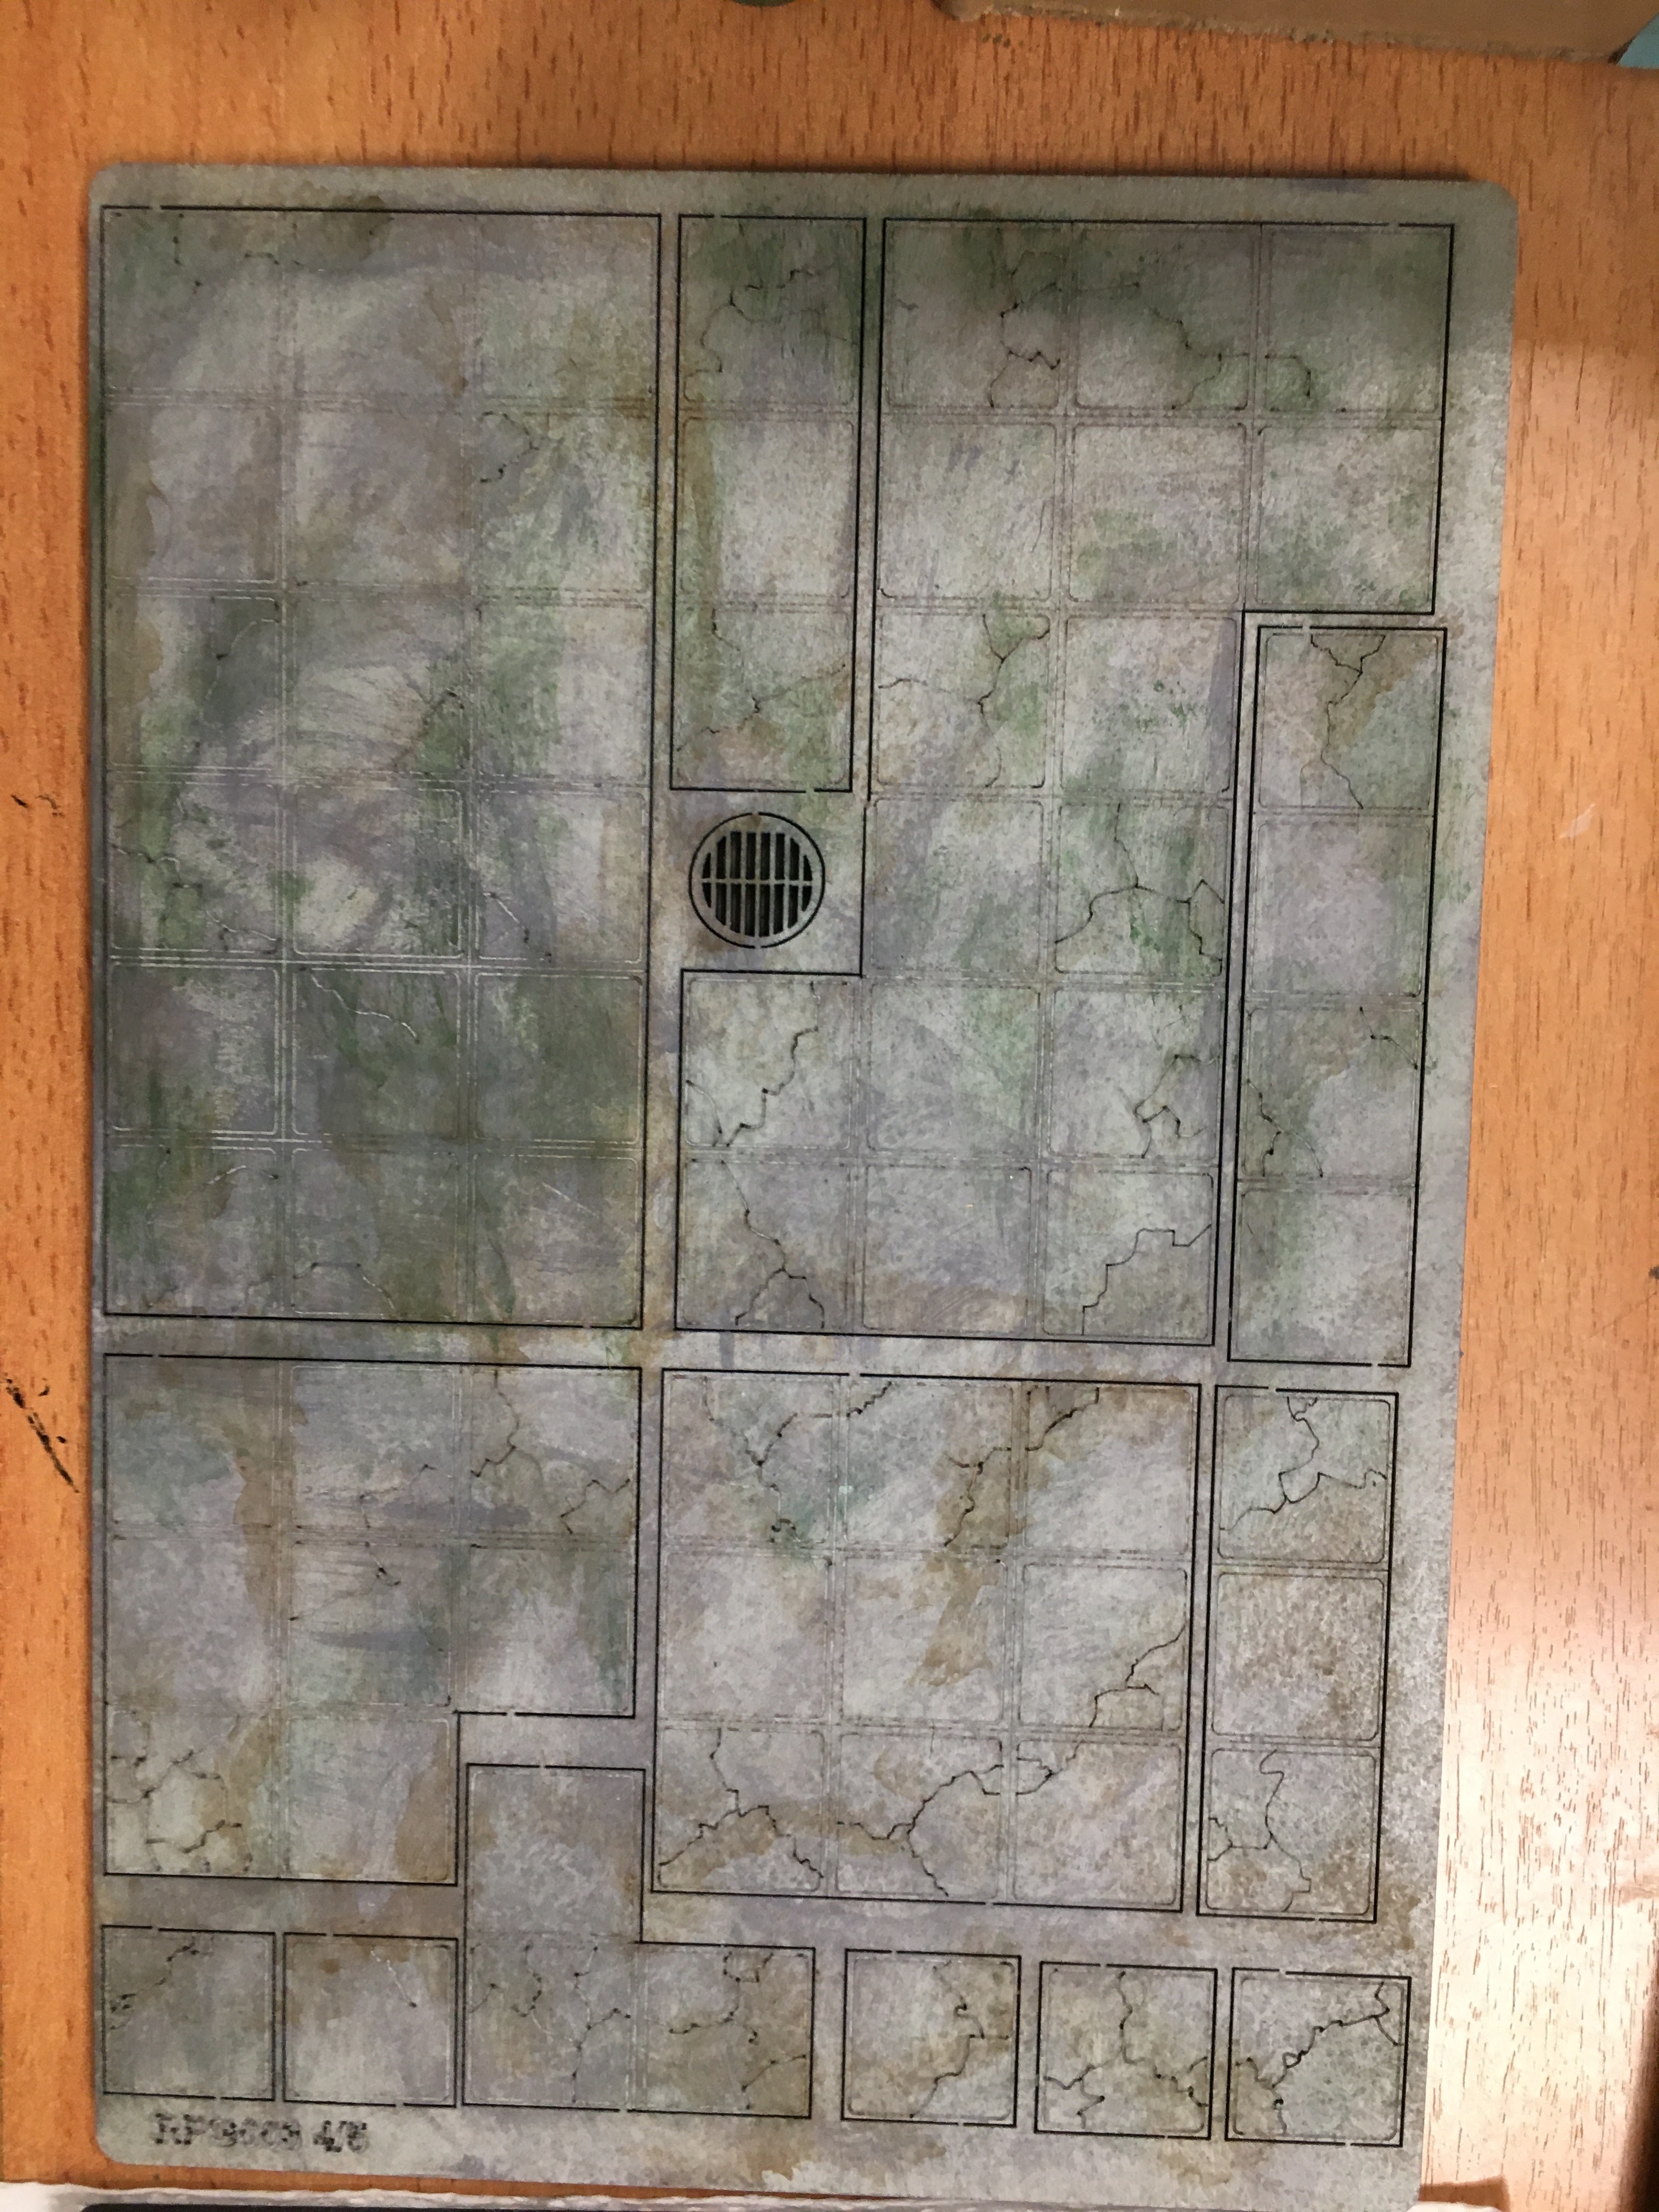
Finally, I had a go at filling in the inscribed runic symbols with some colour to add a bit of interest - is it some code that needs unscrambling to reveal a message, or a hidden Indiana Jones-style floorplan where you must only tread on the stones with certain symbols, or be flung into the depths below…. ?
This failed to be anything other than underwhelming, however - particularly given that I had used some ostensibly ‘neon’ colours (or so it said on the side of the bottles) - ending up with some really flat, matt-looking tints - these photos are not the greatest, but believe me, they’re even worse in real life…..

I ruminated about trying to highlight the colours, but the width of the letters is so teeny-tiny, that this wasn’t really practicable whilst keeping neatly within the outlines….. oh well - maybe a re-do is necessary - it all looks a bit child’s alphabet book rather than Eldritch symbology…… !
So, a thoroughly dirty start so far, but more importantly quick and easy - no scribing lines into XPS foam, texturing with crumpled tinfoil or layers of black-tinted Mod-Podge…….well, not yet anyway !

Hello there old chap,
ReplyDeleteDefinitely with you on the whole lighter background approach and for the reasons you mentioned. The end result looks very effective - perhaps showing it with a figure or two in situ may help to tie it all together? On the subject of figures - what will you be using?
All the best (and looking forward to seeing how this develops),
DC
Cheers DC, glad you like it so far - I was second-guessing myself even as I drew up this post - not sure it would turn out Dungeon-ey enough…. As you say, definitely needs some figures for scale/comparison - but I’m chickening out on painting any up so far - been an age since I last did anything bigger than 10mm, so will be concentrating on terrain/scenics whilst I prevaricate !
ReplyDelete